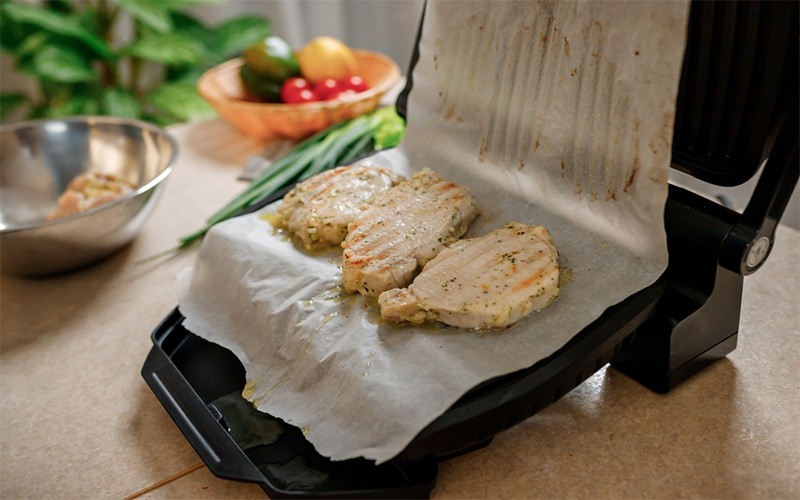
Step-by-Step Guide on Lining Your Electric Roaster With Aluminum Foil Pans
There's a joy that comes from preparing a meal for your loved ones, but with that joy often comes a bit of hassle. One way to minimize that hassle, especially when using an electric roaster, is by lining it with aluminum foil pans. Not only does this technique make the cleaning process a breeze, but it also promotes even cooking and ensures your food doesn't stick to the roaster. Ready to dive into the world of convenient cooking? Here's your step-by-step guide.
Why Lining Your Electric Roaster Matters

- Easy Clean-Up: No more scrubbing or soaking your roaster for hours. The foil catches drips and spills.
- Even Cooking: The aluminum reflects heat, ensuring a uniform temperature throughout your dish.
- Flavor Preservation: By sealing in moisture, aluminum foil pans can enhance the flavor and juiciness of your food.
What You'll Need
- Electric Roaster
- Aluminum foil pans (ensure they are appropriately sized for your roaster)
- Aluminum foil (standard or heavy-duty)
- Cooking spray or butter (optional)
- A pair of scissors or kitchen shears
- Oven mitts
The Step-by-Step Guide To Lining Your Electric Roaster

Preparation Is Key
Before you begin, ensure your roaster aluminum foil pan is clean and dry. Place it on a stable surface, free from any objects that might interfere.
Sizing Your Foil Pan
Hold the foil pan above the electric roaster to check the size. Use scissors or kitchen shears to trim the edges if it's too large. The goal is to ensure it fits snugly without overlapping or extending outside the roaster's edges.
Molding The Foil Pan
Place the foil pan inside the roaster, pressing it gently to take the shape of the roaster. The pan should cover the roaster's bottom and sides adequately.
Securing The Edges
Roll or fold the edges of the foil pan over the roaster's rim to ensure it stays in place. This step prevents any juices or spills from seeping underneath the foil.
Non-Stick Surface (Optional)
For foods prone to sticking, lightly spray the aluminum foil pan with cooking spray or brush it with butter. This adds an extra layer of protection against sticking, making food removal even more effortless.
Lining the Lid (Optional)
If you anticipate a lot of splattering or want to ensure a thorough clean-up, you can line the lid of the roaster with a sheet of aluminum foil. Shape the foil to match the inside of the lid and fold the edges over to secure it.
Loading Your Food
Once your roaster is appropriately lined, you can add your ingredients. Whether it's a turkey, roast, or any other dish, distribute the food evenly for consistent cooking.
Cooking With Care
Always use oven mitts when handling electric roaster, especially hot ones. Ensure that the foil does not contact any heating elements directly, as this could cause a fire hazard.
9. Post-Cooking Clean-Up:
After cooking, let your roaster cool down adequately. Once it's safe to handle, lift and discard the foil pan, leaving behind a clean roaster. A quick wipe should suffice if there are any spills outside the foil.
Tips And Tricks For A Seamless Experience
Choosing the Right Foil
While standard aluminum foil works well, heavy-duty foil is thicker and provides added strength, especially for juicy or heavy dishes. The extra thickness can prevent tears and leaks.
Doubling Up
For recipes that involve a lot of liquid or fat drippings, consider using a double layer of foil pans or sheets for extra protection against spills.
Test Your Temperature
Remember, aluminum foil can affect cooking time slightly due to its heat-reflecting properties. It's a good idea to keep a thermometer on hand to monitor your food, ensuring it's perfectly cooked.
Reduce Waste
If your foil pans are still in good shape after cooking, wash and reuse them. This reduces waste and is more environmentally friendly.
Be Cautious With Acidic Foods
Tomato-based dishes or citrusy marinades can sometimes react with aluminum, leading to a slightly metallic taste. If you're preparing such foods, consider using a layer of parchment paper between the food and the foil.
Mind The Sharp Edges
When trimming or molding the foil, be wary of sharp edges. It's easy to get a minor cut. Always smooth out or fold over any strong points or edges to avoid accidents.
Experiment And Adapt
Every electric roaster is different. The more you use this method, the better you'll become at adapting and ensuring your foil lining suits your specific needs.
The Added Benefits Of Lining
Beyond the primary advantages mentioned above, lining your electric roaster also:
- Prolong's Roaster Life: Continuous scraping and scrubbing can wear out your roaster over time. Using a lining reduces the risk of scratching or damaging its surface.
- Enhances Moisture Retention: The foil can help trap moisture, ensuring your dishes remain juicy and delectable.
- Offers Versatility: If you're making multiple dishes or courses, preparing several foil pans can speed up the process. Once one dish is done, remove the foil, replace it with a new liner, and you're ready for the next item.
In Conclusion
The kitchen is a place of creativity, love, and sometimes a mess. By using the simple technique of lining your electric roaster with aluminum foil pans, you not only simplify your cooking routine but also enhance the overall culinary experience. Remember, the key is preparation, care, and adaptation. The next time you're gearing up for a big feast or just a simple dinner, try this method and relish the added convenience. Bon appétit!
FAQs
Can I Use Aluminum Foil Instead Of A Foil Pan To Line My Electric Roaster?
You can use aluminum foil sheets to line your roaster. Just ensure you mold it to the shape of the roaster and fold it over the edges to secure it in place. For dishes with more liquid, consider using a double layer for added protection against leaks.
Will Using Aluminum Foil Affect The Cooking Time Of My Dish?
Aluminum foil can reflect heat, which may lead to more cooking. However, in most cases, the difference in cooking time is minimal. Monitoring your dish and checking for doneness with a thermometer or other appropriate method is always a good idea.
Is There A Risk Of Food Tasting Metallic When Using Aluminum Foil Pans?
Generally, aluminum foil pans do not impart a metallic taste to the food. However, acidic foods like tomatoes or citrus might react with aluminum. If cooking such dishes, consider placing a layer of parchment paper between the food and the foil to prevent any potential reaction.
How Can I Ensure The Foil Pan Or Aluminum Foil Doesn't Tear While Cooking?
Opt for heavy-duty aluminum foil, which is thicker and more resilient. When placing or molding the foil, be gentle and avoid using sharp utensils that could pierce it. Using a double layer is a safe bet if you're worried about potential tears.
Can I Reuse Aluminum Foil Pans After Cooking?
If the foil pan is still in good condition after cooking, without tears or excessive residue, you can clean and reuse it. This not only reduces waste but is also environmentally friendly. However, if it's torn or greasy, recycling or discarding it is better. Always inspect reused pans for any damage before using them to ensure they hold up during cooking.


